
How to activate the Stripe integration
Connect your Stripe account to Party Rental Studio so customers can pay for their rentals by credit card directly through your booking site.
Find your Stripe API keys
Stripe gives every account two keys that identify it: a publishable key (safe to expose) and a secret key (private). Party Rental Studio needs both to process payments on your behalf.
- Log in to your Stripe account at dashboard.stripe.com. If you don't have an account yet, sign up first, it only takes a few minutes.
- In the left sidebar, click Developers, then choose API keys.
- You'll see two keys. Copy the Publishable key (it starts with
pk_), then click Reveal live key next to the Secret key (it starts withsk_) and copy that one too.
Keep your secret key private. Treat it like a password. Don't paste it into emails, chat messages, or anywhere outside the Party Rental Studio settings page.
Open the Stripe settings in your back office
Switch over to your Party Rental Studio back office to enter the keys you just copied.
- Log in to your back office at io.partyrentalstudio.com.
- Open Settings from the main menu, then go to Payment Methods.
- Turn on the Online Payment toggle at the top of the page. This enables online card payments on your booking site.
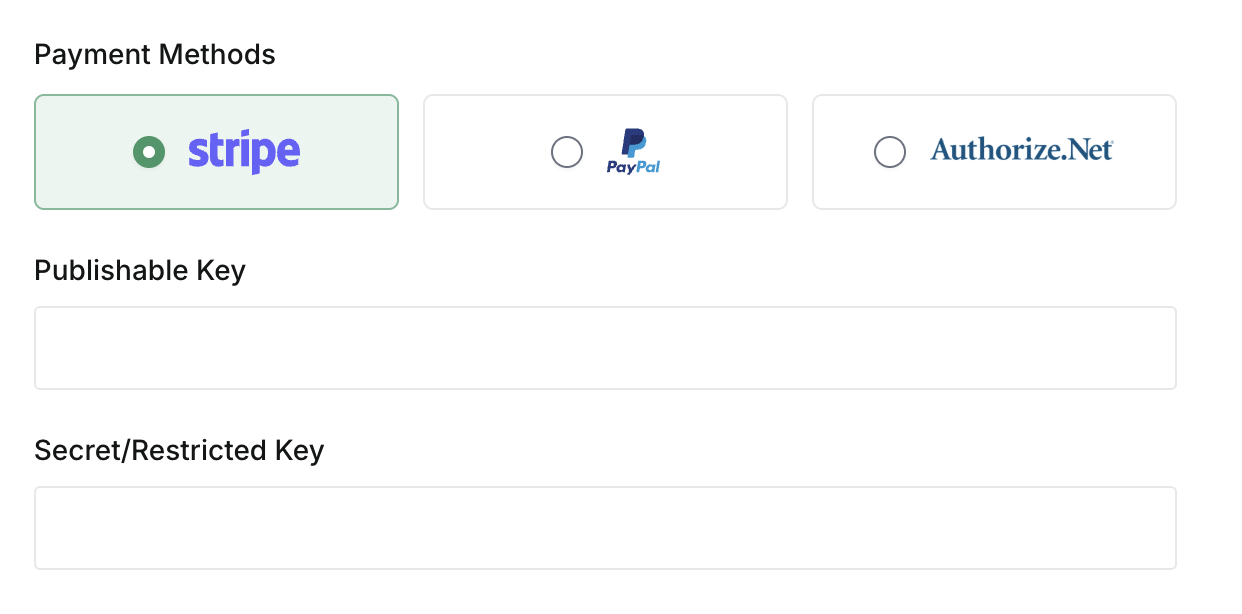
- Under Payment Methods, click the Stripe card to select it as your payment processor. Selected, it'll be highlighted in green.
Paste your keys and save
With Stripe selected, two fields appear below the payment method cards.
- Paste your Publishable key (the one that starts with
pk_) into the Publishable Key field. - Paste your Secret key (the one that starts with
sk_) into the Secret/Restricted Key field. - Click Save at the bottom of the page.
Tip: Make sure there are no extra spaces before or after the key when you paste. A stray space at the start or end is the most common reason a Stripe connection fails to validate.
Confirm the integration is active
The way to confirm everything works is to place a test order on your own booking site. If your keys are valid, the credit card option will appear at checkout and clicking it will load the Stripe payment page.
- Open your booking site and add a rental item to the cart, then start the checkout flow.
- Fill in the customer details and continue to the final payment step.
- You should now see a credit card option alongside any other payment methods you offer. If it's missing, your keys probably didn't save correctly, go back to Step 3 and re-check them.
- Select the credit card option. You'll be redirected to the Stripe-hosted checkout page where the customer enters their card details. Reaching this page confirms your keys are valid and the integration is live.
Note: To run a true end-to-end test, complete the Stripe checkout with your own card. The charge will be real, but you can refund it from your Stripe dashboard immediately afterward.